Showing posts with label RepRap. Show all posts

Wednesday 21 January 2015

Tyce

Well, I said I would start a new model when I hit the 50,000 views mark and it's happened. I was inspired by this photo of Eléa Joly by Antoine Tyce and so created a pose closely based on the original. 


The really big news this time is that HiveWire3D have released a new version of their Dawn model which has far better handling of extreme joint positions. And best of all, Dawn SR2 is fully licensed for 3D printing (non-commercial, personal use without an additional license). This means that I can now legally use my own 3D printers to print posed models.

The enjoyable part for me is working out how to pose the model in a realistic, but still printable, way, that looks both interesting and unusual but still natural and anatomically correct. I chose to move the left hand downwards to make printing easier and to allow me to scale the model up a bit larger inside the printable volume of my largest printer. Placing the left hand on the right thigh seemed natural and ensured a printable outcome. 

Making the resulting meshes printable is now just a minor chore that usually takes less than an hour to complete. Simplify 3D does a great job of generating just the right amount of support material so that the undersides of surfaces are printed as cleanly as possible. I still like to print at 0.1 mm resolution so that as much of the detail is preserved as possible. The print ran for 30 hours without a hitch and looks great.

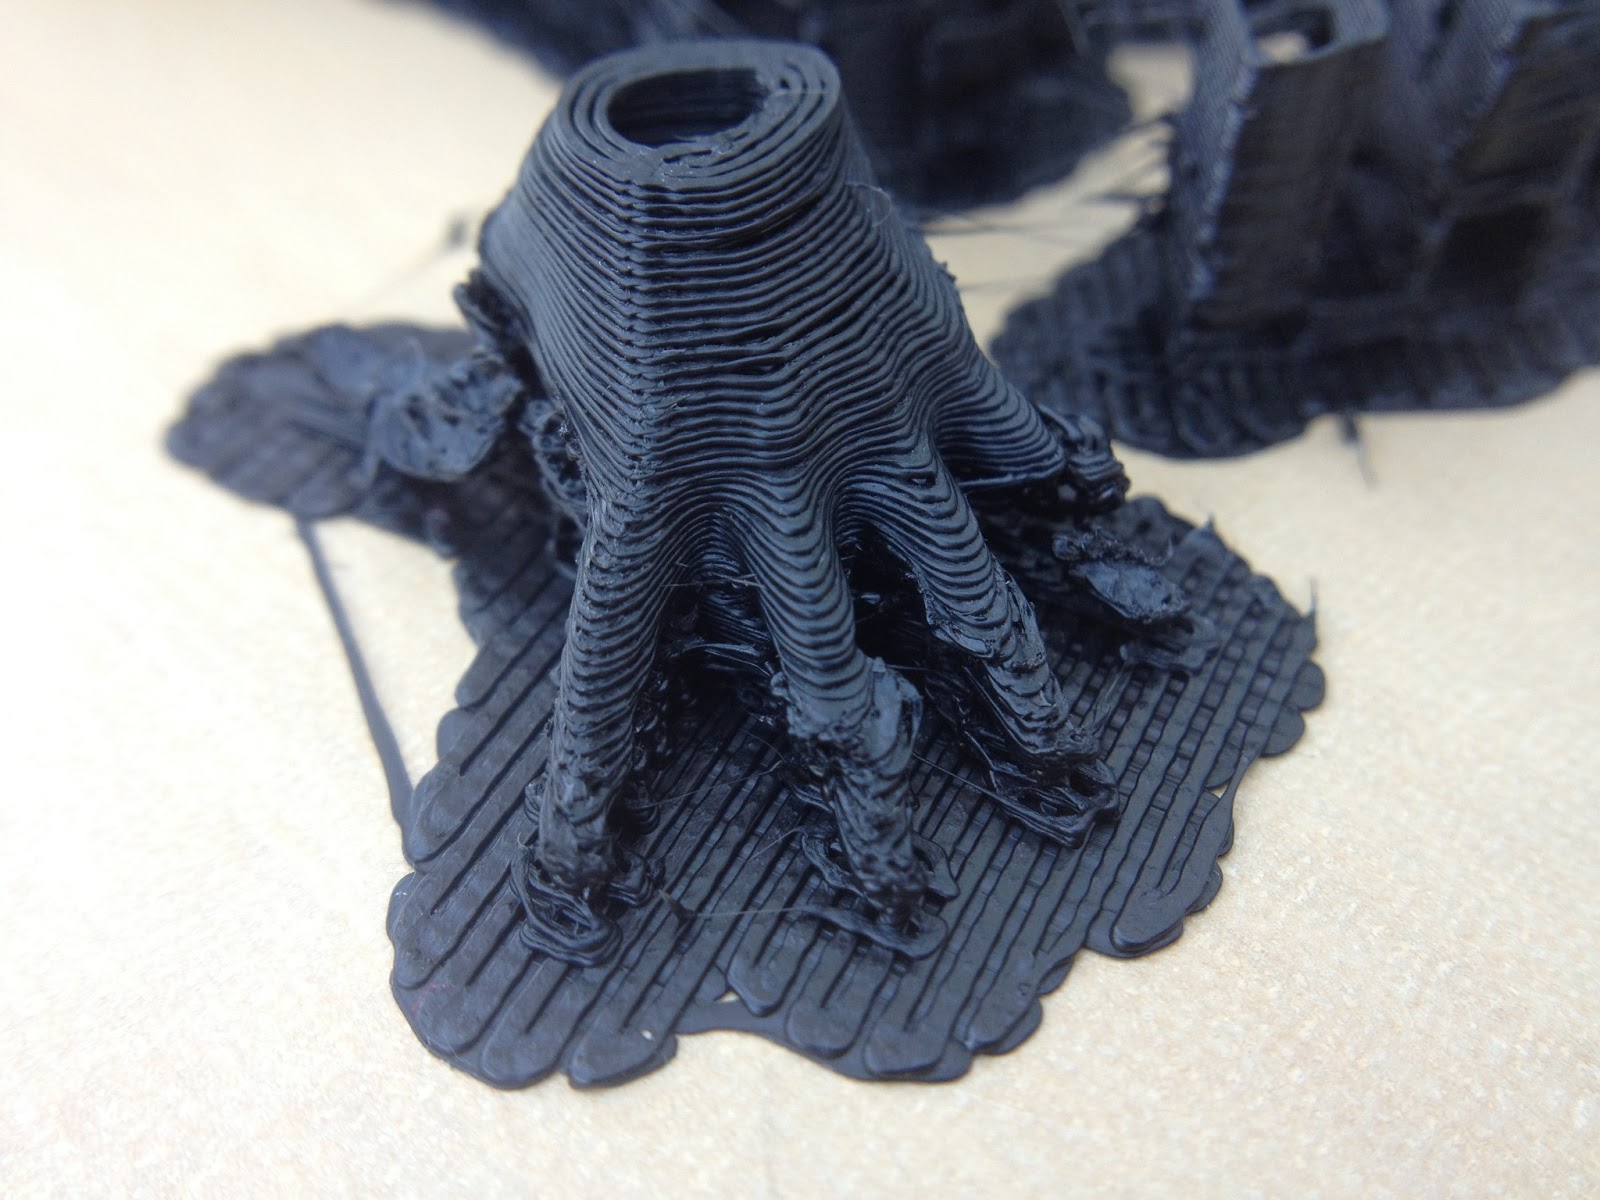
Here are some photos and a video of the print before and after the support material was removed. I have lightly sanded the undersides in preparation for my first attempt at painting a model.


And now here is the model painted.
I used a matte black spray paint as an undercoat and then used a dry brushing technique to apply a metallic bronze acrylic paint.


Tuesday 24 June 2014

Brenda Lynn


This photo of Brenda Lynn Acevedo, found on the Bella Donna blog, caught my eye for a couple reasons. Firstly, having her arms (and, in my imagination her legs) held either flat or vertically makes them easy to print without support; and then of course there is the way that her breasts gently rest on the floor giving them a profile that reminds me of a Piet Hein superegg (go and look it up and you'll see what I mean).


The fluid nature of (natural) breast tissue means that it naturally reshapes itself in response to gravity. (Of course, the same is true of all fatty tissue, but the models in these photos don't usually have much surplus fat in other places, so this issue generally only affects the breasts.) Character modelling software allows you to position the limbs, trunk and head in anatomically plausible positions, but also allows you to change the shape, size and position of the breasts. One thing that it doesn't do very well though is to model the impact of gravity on mobile breast tissue; there are add-on pieces of morphing software that give an additional level of control, but nothing I have found yet that mimics the effect of gravity on natural breasts in a reclining position.
So, after exporting the best pose I could manage from the posing software, I started sculpting in Blender until the breasts had a shape I was happier with and which I was ready to try printing. 


Feeling lazy, I used the clock rewind trick to bring Project Miller back to life again and quickly generated a single watertight mesh from the multi-object base and then did one more smoothing iteration.
I used Simplify3D for the slicing and made sure there was plenty of support material around the right arm so that the small point of elbow contact with the bed wasn't put at risk of failure.
I decided to use a nice wood-coloured PLA from 3D Filaprint and after a long 16 hour print this is what the printer produced.


Opinion: I'm generally very pleased with this one. There are couple of areas that could be improved - some distortion around the heel, and rather too little support material in the small of the back and between the shoulder blades.

Postscript: I decided to adjust the layer positions and try a reprint. This one came out even better.


Monday 21 April 2014

Casual undress

Right, I think it's time for an Entiresia original.

I have a pose in mind and I'm going to have a go at creating it from scratch. I want the woman to be relaxing casually on her side, head propped up on one arm with the other hand reaching forwards and resting on the floor. I also want the knees tucked up a bit and both feet resting on the floor.

I started by positioning the right arm and then the head and neck. Next, I added a bit of forward bend, lateral flexion and slight rotation of the spine, to make the right hand side form a straight line, as if lying on the floor. The model was then rotated almost 90 degrees to the right, into the reclining position. The breasts were repositioned slightly to show the effect of gravity pulling from the right side and then the legs and the left arm were placed in contact with the floor.


This pose was also designed with 3D printability in mind, so should require a minimum amount of support.

I did the slicing in Cura with my usual setting of 0.15 mm layer height and 25 mm/s print speed, although I think I could have gone a bit faster. The steep angle on the left forearm caused a bit of curling of the leading edge so I had to use a small amount of cooling fan (sometimes it helps, even with ABS) to prevent the nozzle from crashing into it. I took the temperature up to 240C this time and was very pleased to discover that this print has absolutely no sign of splitting anywhere.


After a bit of sanding to clean up the support marks I took this series of photos, making the most of the low morning sun - vapour smoothing to follow soon, I hope.


Tuesday 18 June 2013

Body Language

I have just completed one of my best projects so far. It was inspired by another great Bruno Birkhofer photo called Body Language.


I took special care with the pose modelling to capture the lines as faithfully as possible, carefully placing the limbs as close as possible to each other without overlapping. I reused a short hair style of my own creation.

Here is a screenshot of my version in Blender.


The next important step was deciding how to print it and what kind of support to generate. I used Kisslicer to generate the printer files again, because although a new version of Slic3r has just come out with supposedly much improved support generation, I haven't had time to test it yet.

I decided to to make one change from the settings I used for the previous Birkhofer print and that was so go up from Medium to Dense for the support layer, just to see what would happen.

The other genius idea I had was to turn the print vertically for printing, which changed the position and amount of support material required. If I had printed the model exactly as it appears in the picture above, all of the chest and head would have need support underneath it. By rotating it to a much more vertical angle almost none was needed in these areas.


I was so impressed by the new settings that decided to make another video of the support removal process. You can see how my preferred tool is a flat bladed screwdriver which breaks the weak bonds between model and support with less risk of damage to the delicate areas. The support was certainly more dense than before and, in my  view, held the model better whilst still coming away cleanly.


Support removal video


Before and after smoothing


Finished print


Tuesday 4 June 2013

Recline further

I decided to persevere with Recline and try to fix some of the problems.

Following an invitation from Sublime to try his calculator (see the comments in Recline), I learned that my setup could work better at 0.2 mm layer height if I increased the extrusion width from 0.4 to 0.48 mm. That should certainly help to improve layer bonding somewhat.

I also reasoned that the delamination in the first print had been caused by excessive part cooling with the fan. I know, I know. ABS isn't supposed to need a cooling fan but I still believe that with steep overhangs it just prints a bit better with one; I just had it turned up a bit too high.
The next problem to work on was the fingers. I started another couple of prints and both times the fingers failed again. Something different was going on here.


I thought about this for a long time and eventually came up with three ideas for possible solutions.
Firstly, the way that I had splayed the fingers out made the overhang angle more than 45 degrees. Changing the pose slightly to make the fingers more vertical should help.
Secondly, I had changed the support gap setting in Kisslicer from 0.5 mm to 1 mm to try and make it easier to break away; I suspected that this was actually making the support less supportive, so I put it back to 0.5 mm.

Finally, it dawned on me that the only thing supporting the fingers was the weak interface layer attaching them to the raft. This hadn't been a problem with Curl because there were relatively large areas attached to the raft but this print was quite literally clinging on by its fingertips, and in the end the lateral drag of hot plastic from the rapidly moving nozzle was proving too great for the weak bonds. The solution for this print was to abandon the raft and find a better way to get the fingertips to stick to the bed. 

One option I considered was to print the model on a plinth. This would provide the strongest and most reliable base but wasn't really in keeping with the rest of the series so I decided to keep it in reserve. 
Eventually I resorted to my favourite method which has worked well in the past. I went back into Blender, opened the model in point edit mode and used 'Box select' to highlight all the points in the bottom millimeter of the model and then used Scale Z 0 (zero) to flatten the bottom of the model and finally moved all the selected points up a little to the most natural position.
A liberal splash of ABS juice on the printbed and I was ready to have another go.

This time it went much better. No serious delamination at all and the fingers are looking much more solid. The left thumb appears to have shifted and reconnected at the base, but this should be relatively easy to repair.


Now I just need some time to do the support removal and acetone vapour bath.


Friday 15 February 2013

Pensive

The 'Sun worship' model took me at least five attempts to get a decent print from, but having finally got it to the point where I was happy with the output quality I decided it was time to move on and try a different design.

There are many factors to consider when designing a model for printing on a 'fused filament' type of 3D printer, like a RepRap or Makerbot. One of the most important ones is the the need for 'support material'.

The printer starts printing the bottom layer onto a flat bed (usually heated to 100°C to make the plastic stick to it) and then proceeds to print each successive layer on top of the one underneath. This works fine for blocks with straight sides and can even cope with sloping sides of up to 45 degrees where each layer projects out a bit further than the one below.

But in real life, things stick out at all sorts of angles and this presents a problem. Just take a look at the middle of your face and imagine how difficult it is to print chins and noses. The printer is squirting hot, runny plastic filament downwards from the nozzle and needs something to extrude the plastic onto. If there is nothing there, the string of plastic will just hang down in mid air instead of following the path that the nozzle is tracing as it draws.


Sun Worship

One way to address this problem is to create support structures which are not part of the sculpture, but are solely intended to provided a surface for the upper layers to land on. 
Another way is ensure that the model has no projecting angles shallower than about 45 degrees.
Look again at the Sun worship model and you will see that all of the limbs, the torso and the head have been carefully posed to ensure that there are no unsupported regions.


I decided that my next project would be a nude sculpture of a woman standing in a pensive pose, one knee slightly bent and arms held close to the chest. 


After working through a number of iterations I arrived at this pose.


Again I spent a considerable amount of time fixing the mouth and eyes and creating a customised hair object.


It turned out that there were several problems with this model. Firstly, the points of the elbows and the chin had nothing beneath them so I decided to add some small support blocks for removal after printing.


In this picture, you can just make out the small disc between the thumbs, as well as the triangular elbow supports.


This should have worked in theory, but in practice the chin support was too thin and failed to print correctly, while the elbow supports ended up too close to the model and caused an unsightly mess.


The other big problem was that my printer can only go up to a height of 13 cm and even using the full print height the model still ended up quite small.
This would have been OK had it not resulted in the fingers becoming too thin to print correctly.
Here is one of the early attempts demonstrating some of these problems.


I made a number of significant changes to try and improve the quality of the print.

  • Moved the elbows closer to the abdomen and removed the support blocks
  • Repositioned the thumbs under the chin
  • Slightly fattened the fingers and thumbs
  • Increased the height of the model to 20 cm
  • Printed in two halves, with a connecting pin to join them back together
The fingers are little bulky and the seam is still visible but this is straight off the printer, with no post-processing work.


Pensive


Incidentally, you can see the legs of this model being printed in the very first picture of this blog.


Tuesday 5 February 2013

Welcome to 3D Printed Nudes

Home 3D printer ownership and use has exploded over the last couple of years. These small but powerful machines are capable of creating solid objects by melting plastic filament and depositing it precisely in thin layers, building strong, solid shapes that can be both functional and aesthetically pleasing.
Printers can be built at home from a kit for about $750, or purchased ready to use for about $2000.
Almost all of the software needed to create and print digital 3D models is available as open-source freely downloadable files.

The 3D printer in action


Why print nude sculptures?

  • Classical sculpture has used the nude human form as subject matter for thousands of years. Humans innately find beauty in representations of the human form.
  • The smooth, subtle, sensuous curves of a naked body present a real challenge for machines that are typically used for making mechanical objects based on digital models.
  • Many great statues can be captured for printing using an ordinary digital camera and a free online service such as Autodesk 123D Catch.
  • 3D modelling software already offers the capability to create digital compositions that can be exported in a printable format, but these files are not generally printable without extra work.
  • Adding clothing on top of the models, significantly complicates this process. Making printable nude sculptures is both pleasing and much simpler.

There are many challenges to be overcome and I aim to make this site a place for sharing ideas to improve printing quality as well as a way of sharing some successes and failures.

Here is a new sculpture called "Sun worship" that was processed in Blender to make it ready for printing.

Sun Worship - face detail


Sun Worship - hand detail


Sun Worship - feet detail


Sun Worship - with ear-buds for scale